With an Excel macro button you can run a macro or custom Excel automation with one click. This can make it easy for you, or other spreadsheet users, to run a macro whenever you want to.
For instance, say your worksheet pulls in data from an external source. You could use a macro to update the data to ensure you’re working with refreshed data.
Or, what if you want to use a macro to send an email with data from your Excel sheet? You could create a macro button to send an email update that could include data, tables, charts, or the entire excel file itself, as an attachment.
There’s countless reasons you may want to create an Excel macro button. So let’s get down to how to do it.
Creating an Excel Macro Button
Here are instructions for adding a button to run an Excel macro. They were created with Microsoft Office 365 (Version 2301 Build 16.0.16026.20196) 64-bit.
Step 1: Insert Shape onto Excel Worksheet
Go to the ‘Insert’ menu at the top of the page. In the ‘Illustrations’ section of the menu, click on the button ‘Shapes’. An extended menu will open with many shape options to choose from. Select the shape for your button. Let’s say you want the rectangle with the rounded corners. Click on that shape. Then, click and drag in the area of the sheet where you’d like the button to create the button. For example, click where you want the top left corner of the button, hold the mouse key down, and drag your mouse to where you want the bottom right corner, then release the mouse key. You’ll now have a shape on your worksheet.
Step 2: Add Text to Shape
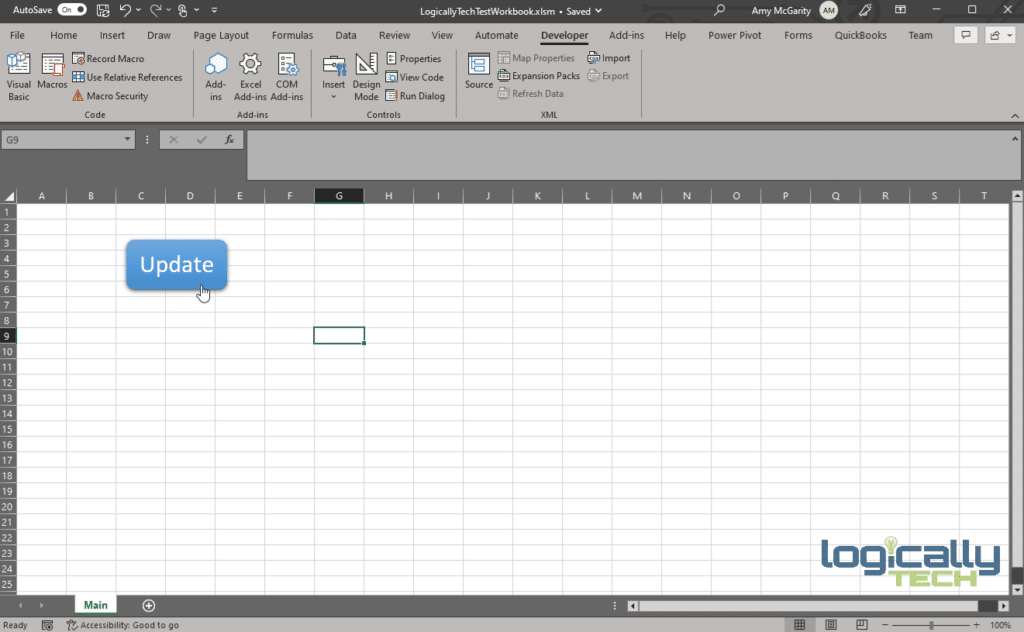
Double click on your new shape and a cursor will appear inside of it. Type what you’d like to see on your button, ie: Update. Then click somewhere else on the sheet and you’ll see that the text appears on your button.
Step 3: Adjust Shape Format
You can now change the styling of your button using a predetermined style or by making individual changes yourself.
Let’s try some of the standard styles provided with Excel. Click on your shape. With your shape selected, a ‘Shape Format’ section should appear at the far right of your Excel menu. Click on that to view the ‘Shape Format’ menu. In this menu, there is a section called ‘Shape Styles’. There are many styles you can view by clicking through the up and down arrows to the right of the styles. Or, the bottom down arrow with a line over it allows you to view all the styles in a dropdown. Select one you like and click on it to style your button like the one shown.
If you don’t want to use one of the predetermined styles you can change the styling yourself.
To change the text size, color, or alignment, click on the button to select it, then use the ‘Font’ section of the ‘Home’ menu to adjust the text styling.
To change the background color, border, or add special effects to the button, selct it, then use the ‘Shape Format’ section of the menu and update the ‘Shape Fill’, ‘Shape Outline’, or ‘Shape Effects’, respectively.
To change the size of your button in Excel, click on it, then click on one corner of the box and drag it to adjust the size. Or, you can click on the button and update the ‘Height’ and ‘Width’ in the ‘Size’ section of the ‘Shape Format’ menu.
Step 4: Attach Macro to Button in Excel
To automatically run a macro when you click a button in Excel, first select your button by clicking on it. Then, right click on your button, and select ‘Assign Macro’ from the menu that opens. Find the name of your macro in the list and click on it to select it. Then click ‘Ok’.
That’s it! You now have a custom button in your Excel workbook that will run your macro or VBA function. Get stuck or want assistance creating a macro to automate your work? Logically Tech offers Excel support for small businesses, specializing in VBA macros and automations. Email info@logicallytech.com with your request and the best way of contacting you.